Social


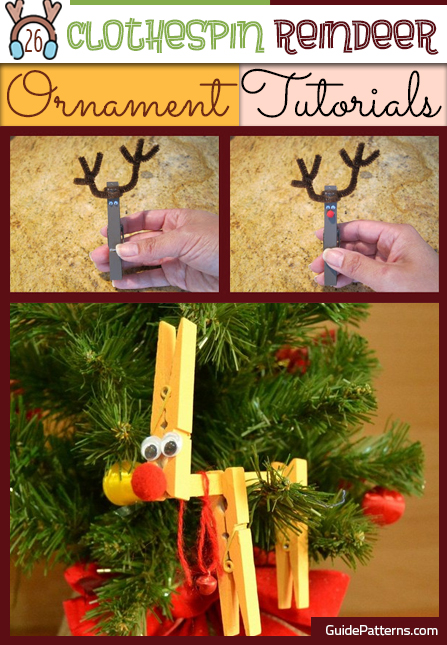
26 Clothespin Reindeer Ornament Tutorials
Do something new this Christmas with recycled stuff. Clothespin reindeers wold look lovely on the Christmas tree and as decorations. You can also rag presents with these ornaments. You would be glad to know that they also make stunning necklaces and magnets.
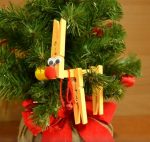
1. Clothespin Reindeer Directions
The cute little fellows have got antlers and hooves made by permanent markers, wiggly eyes hot glued to the head portion and green blankets covering their backs.
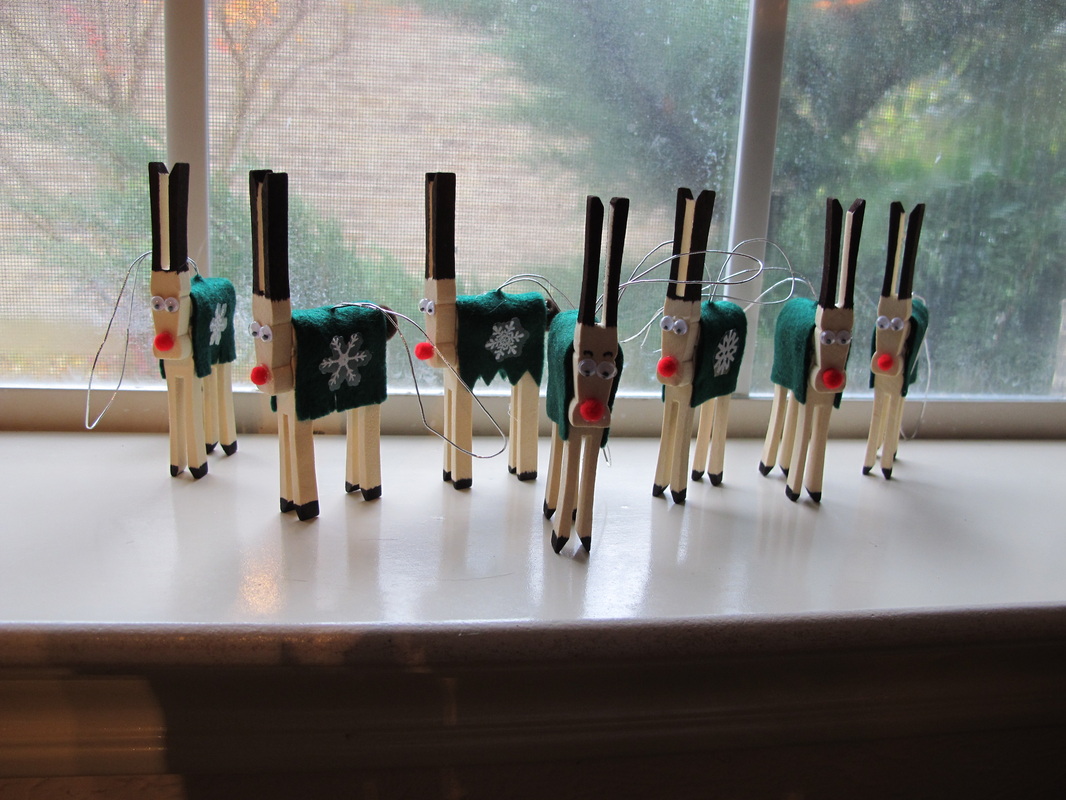
Clothespin Reindeer
Each reindeer of this fun set has been made by gluing two wooden clothespins one beside the other with another one upside down to the side making the head and antlers. The pair represent the body and legs.
Reindeer Clothespin Craft
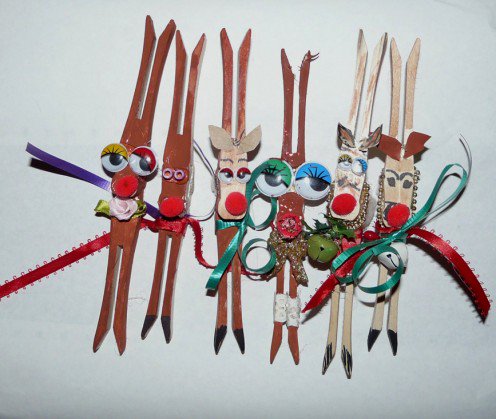
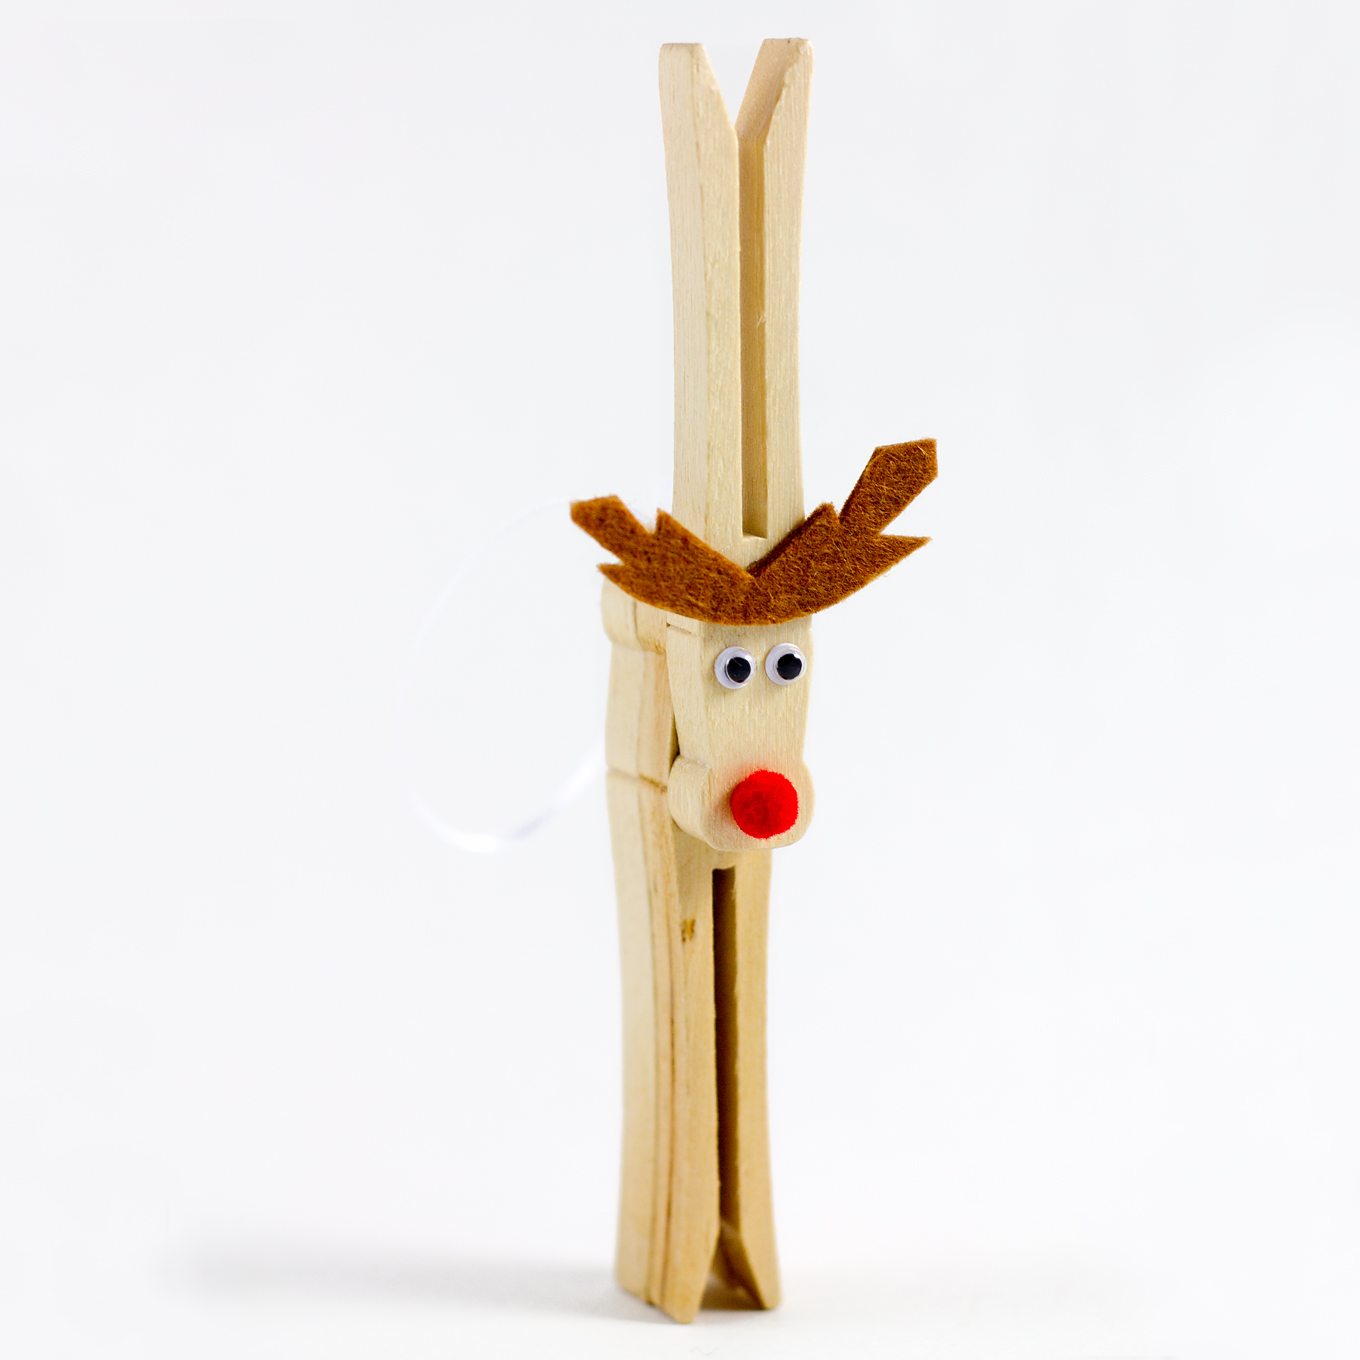
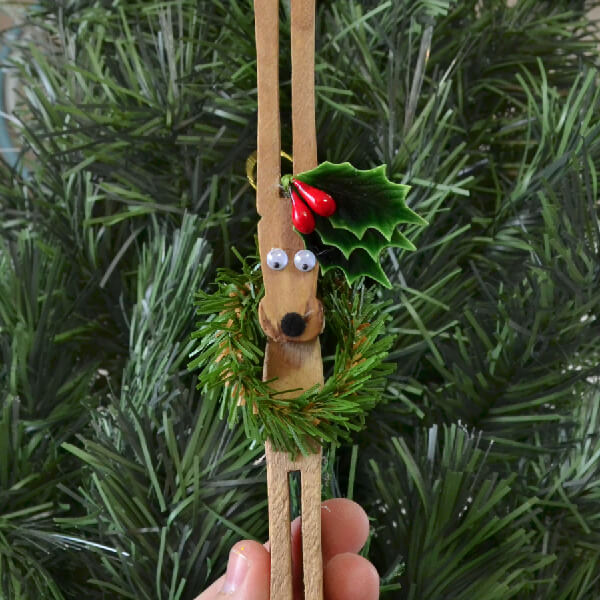
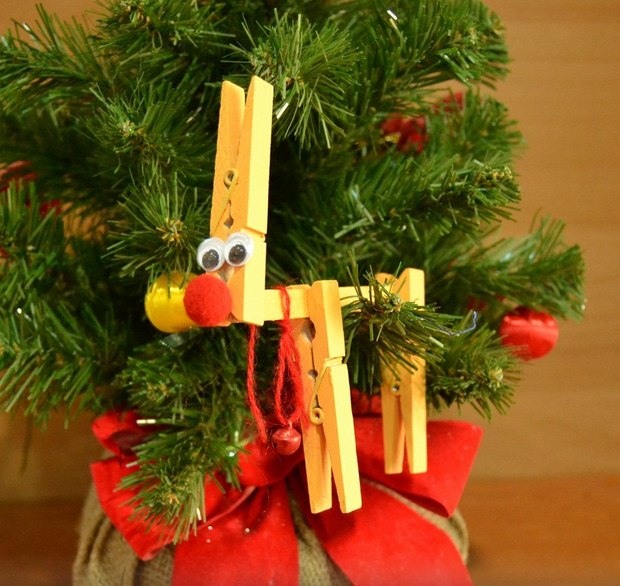
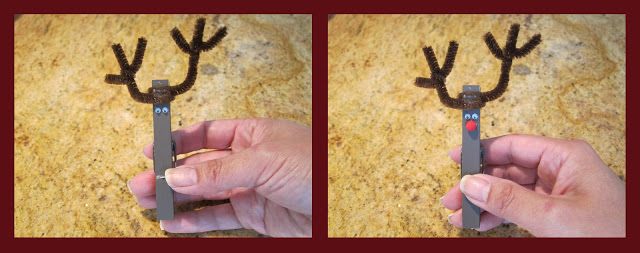
3. DIY Clothespin Reindeer Ornaments
If you want, instead of creating the eyes by marker stick googly eyes to the head portion. You can accessorize by attaching a green holly appliqué on the forehead.
Clothespin Reindeer Ornament
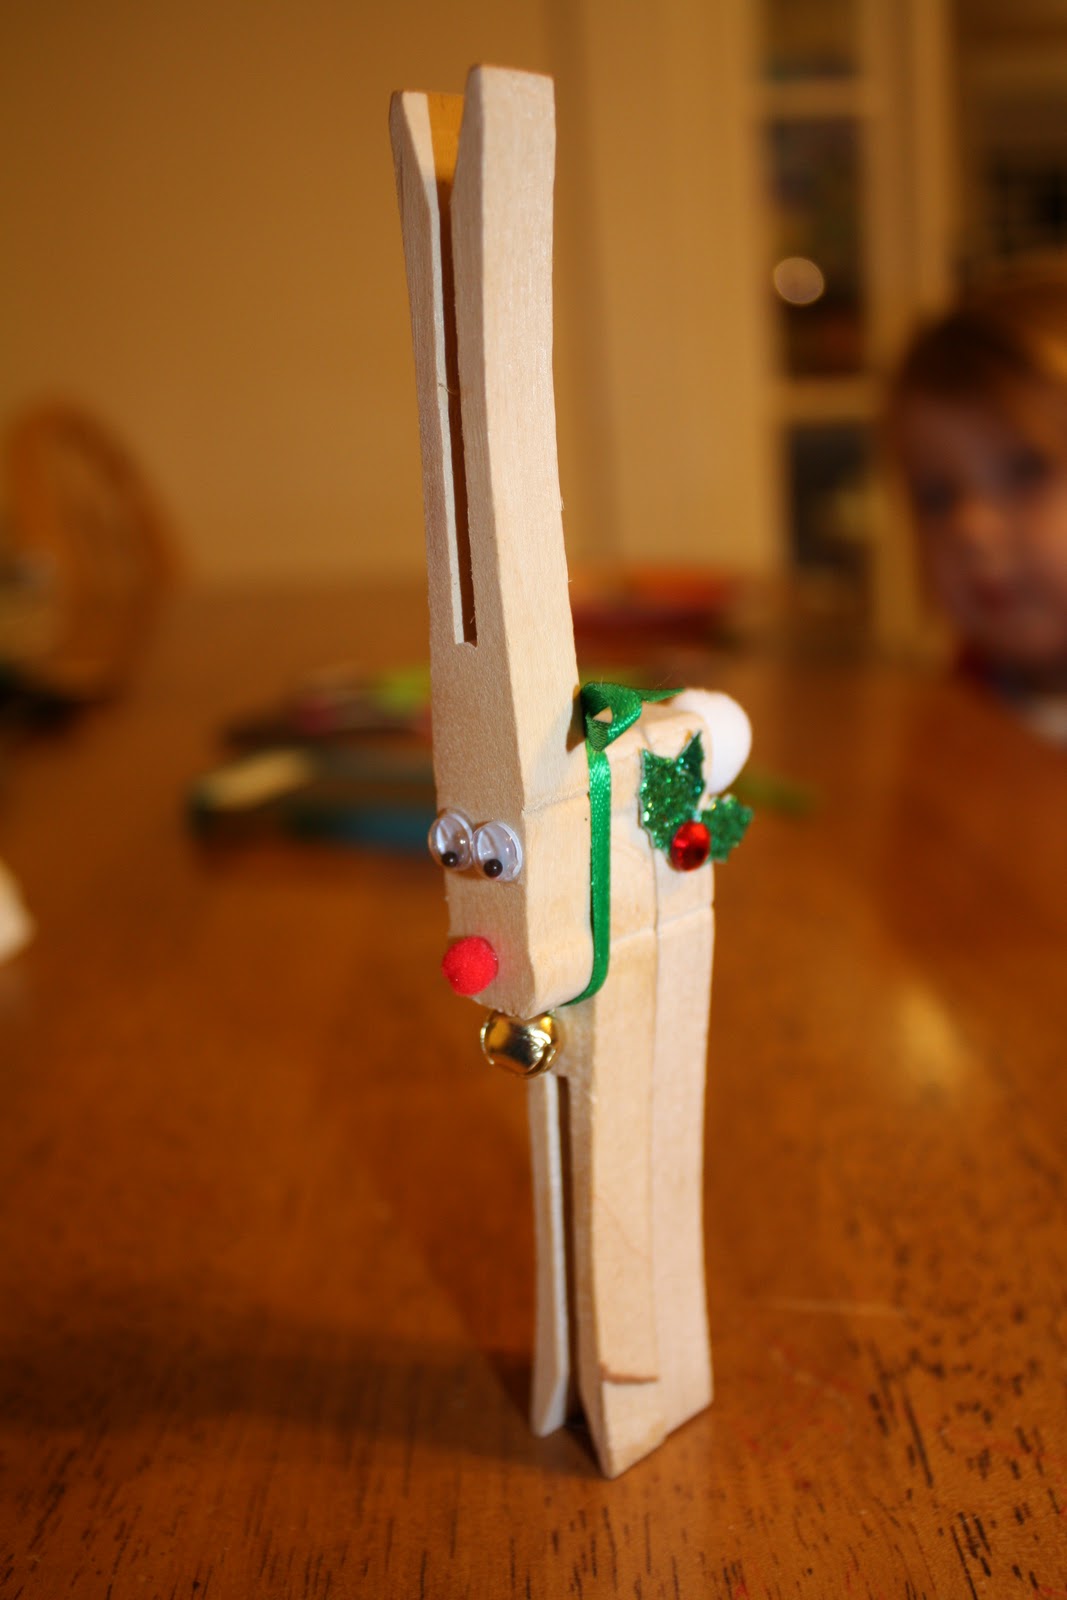
4. Clothespin Reindeer Ornament Craft
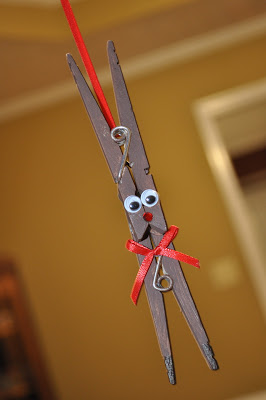
Wrapping wires round the necks of the reindeer create fashionable Christmas ornaments. Embellish them to your heart’s content with color, ribbons, glitter, etc.
Reindeer Clothespin Ornaments
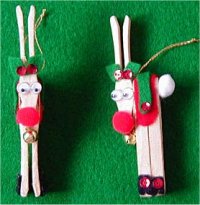
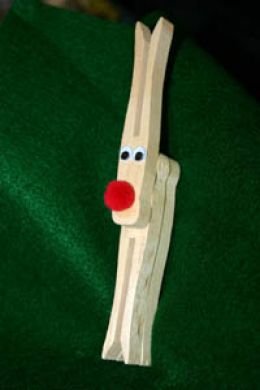
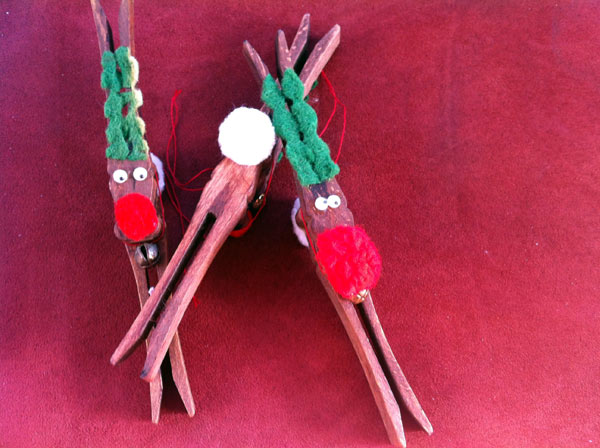
5. Easy Clothespin Reindeer Craft
This pretty little reindeer can adorn the gift packages as well as the Christmas tree with elan. The red pom pom looks dainty as Rudolph’s nose. You can stick a white pom pom at the back for the tail.
Reindeer Made From Clothespins
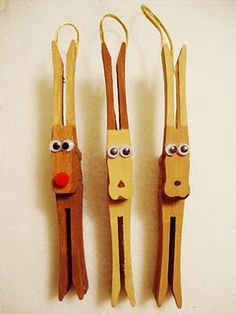
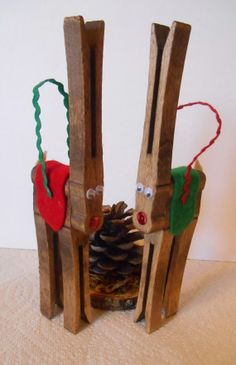
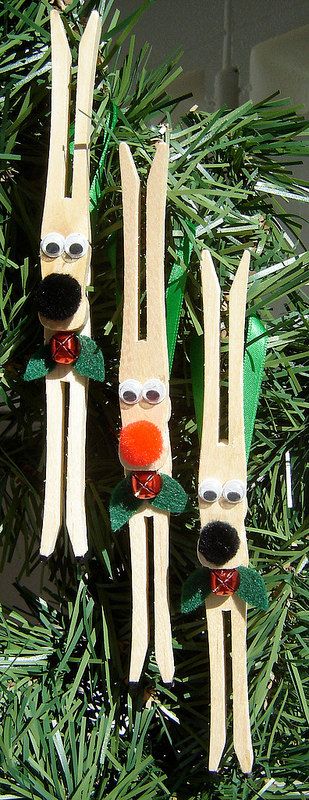
6. Reindeer Clothespins Project
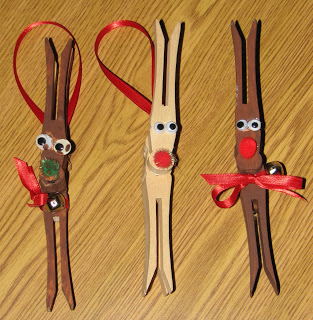
The awesome threesome has stylish decorations at the neck. Green ribbon bows with bells at the center! Note the use of brown paper cut in the shape of leaves for the ears.
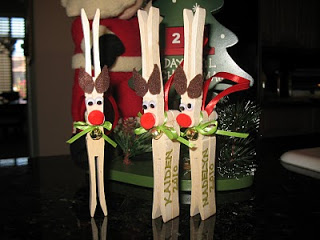
Reindeer Clothespins
7. Simple Clothespin Reindeer Craft
This set is different from the others. The 2 legs of the reindeer are separated by popsicle sticks. The clothespins have been completely covered with brown and black paint.
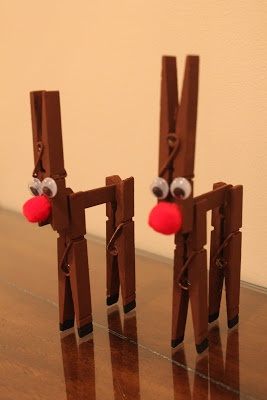
Clothespin Reindeer Craft
8. Clothespin Reindeer Instructions
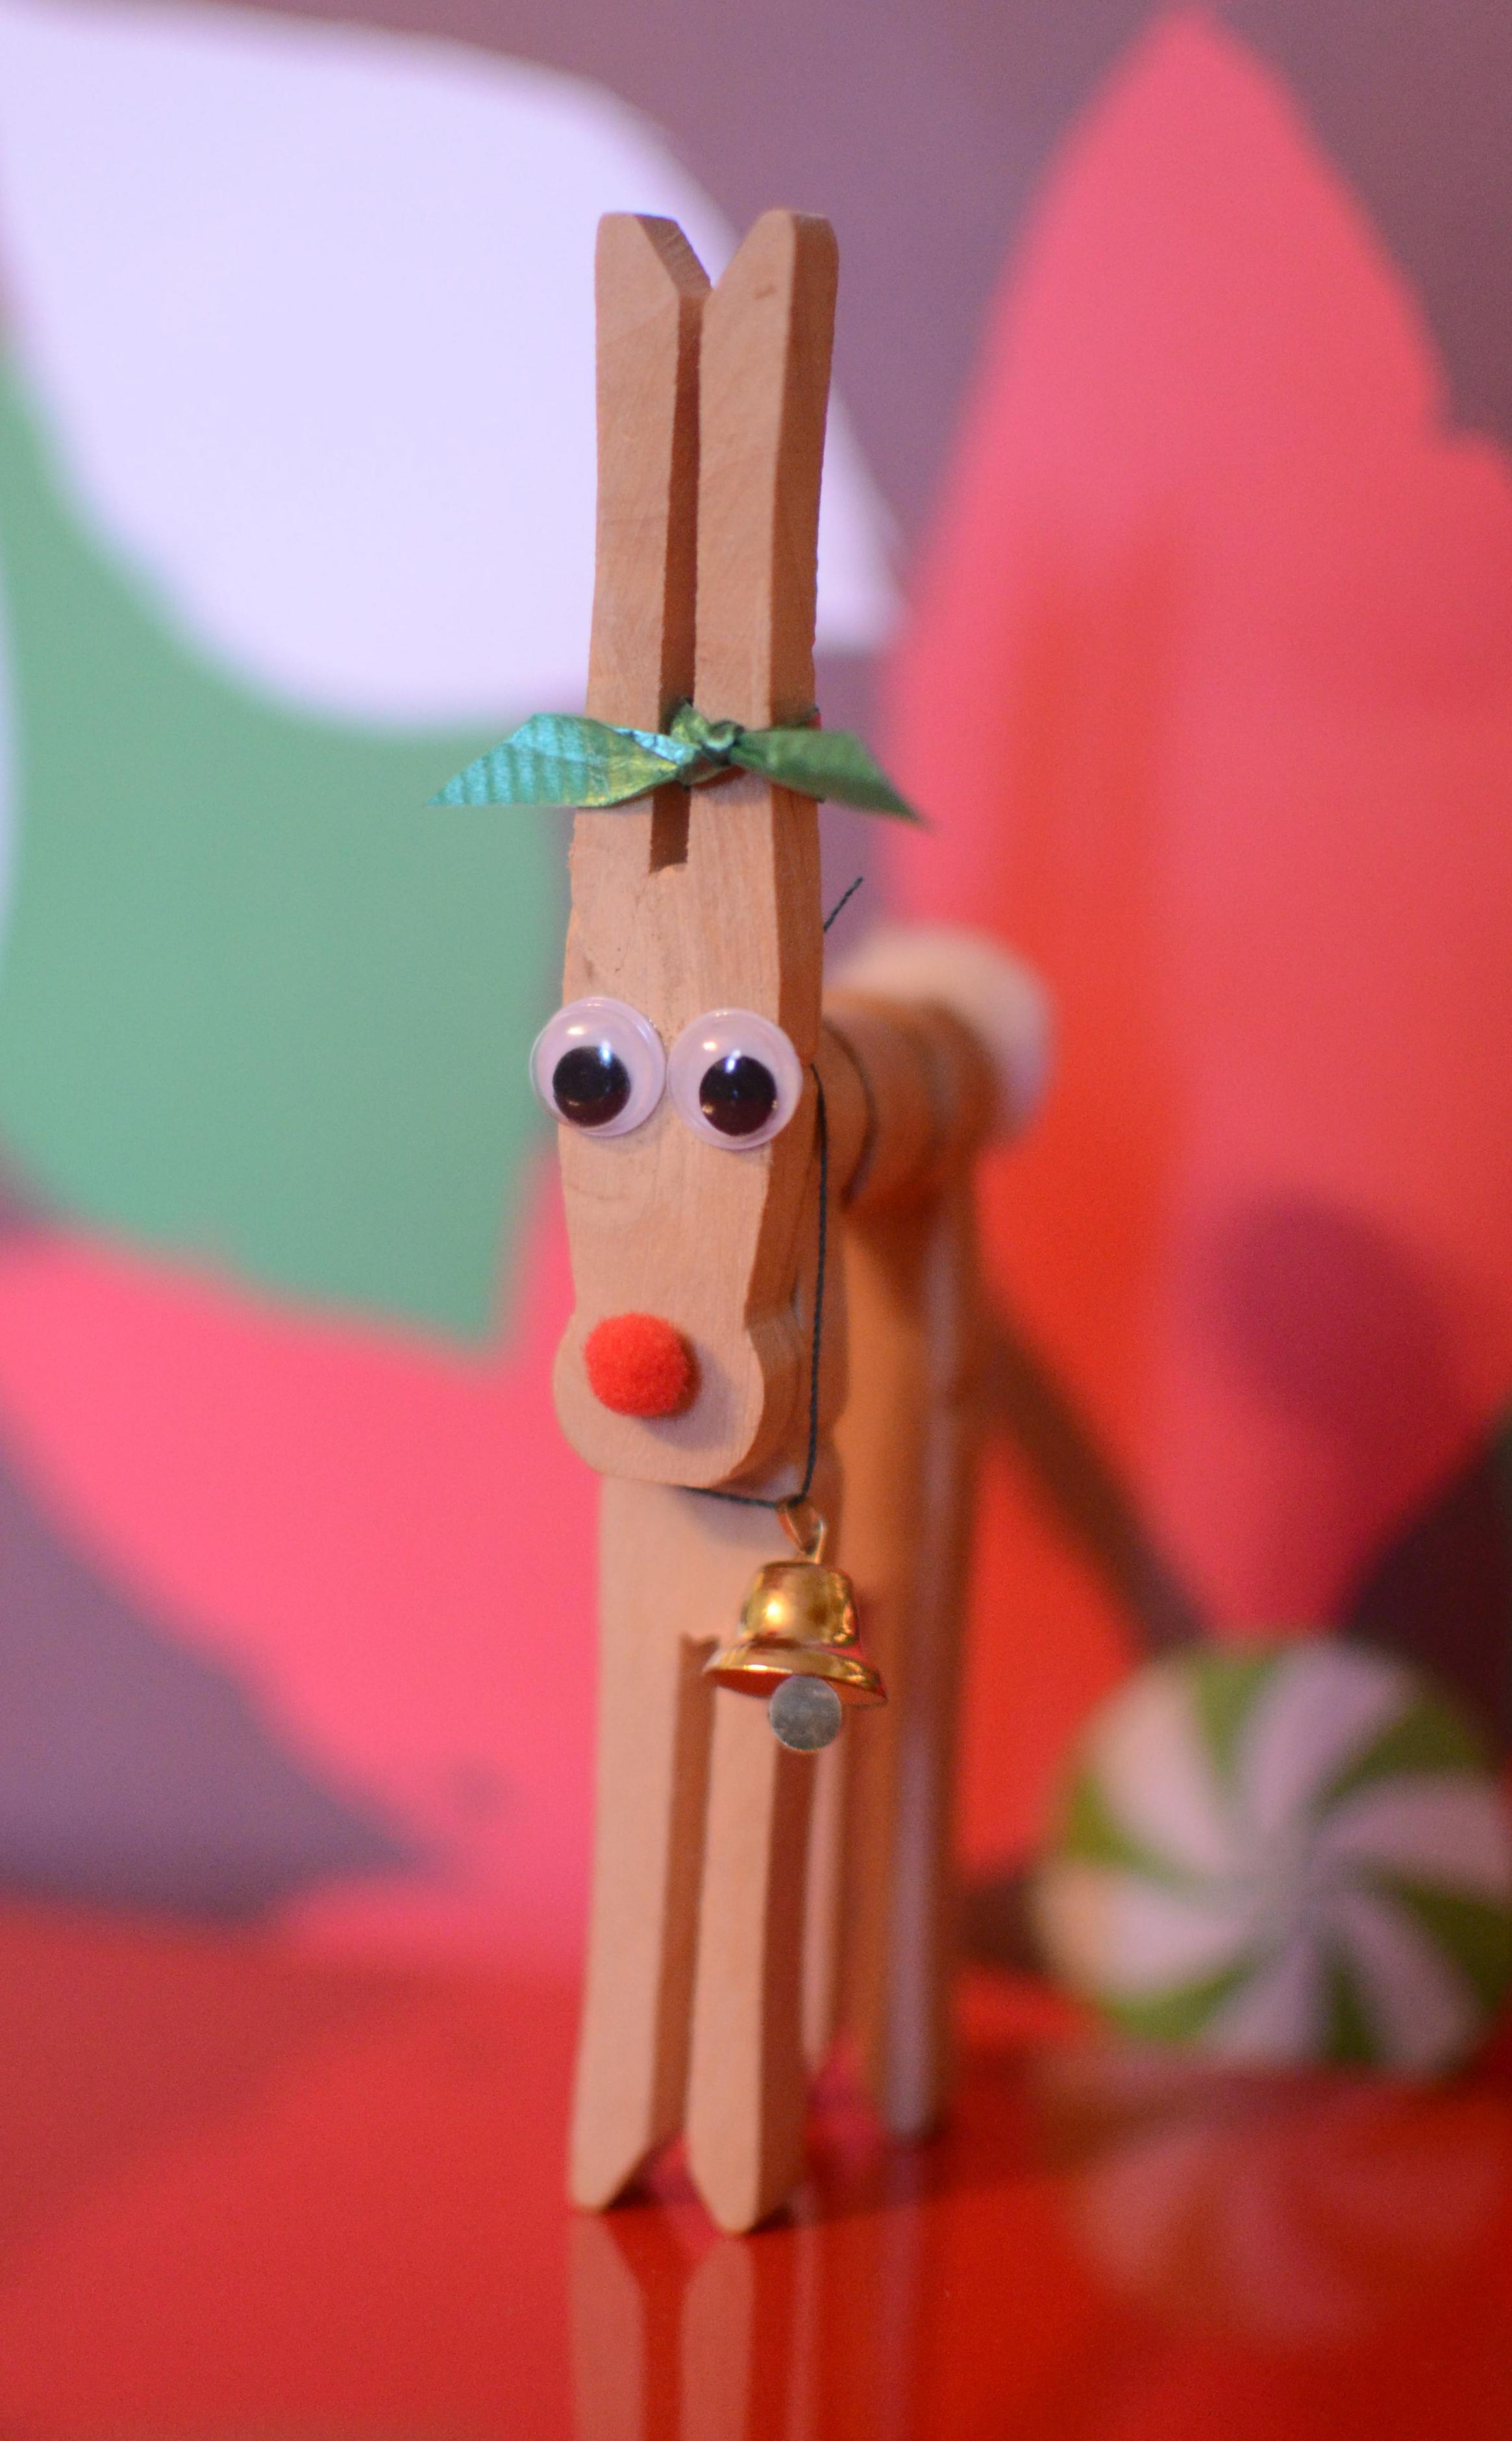
A jingle bell hanging by a ribbon from the neck makes this reindeer awesome. A popsicle stick separates the fore and hind limbs. Keep your paintbrushes handy for this project.
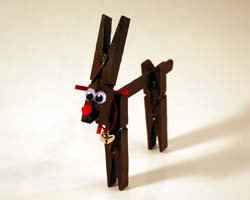
How to Make Reindeer Out Of Clothespins
9. How to Make a Clothespin Reindeer Ornament
In this craft, the clothes pegs have been colored with watered down craft paint or wood stain. You need the paint to fully dry before proceeding to the gluing part.
Reindeer Clothespin Ornament
10. Easy Clothespin Reindeer Ornaments
For making these stunning ornaments, you need to make a loop with a green, red, yellow or gold ribbon and glue it in between 2 clothespins that create the body.
Reindeer Ornaments Made From Clothespins
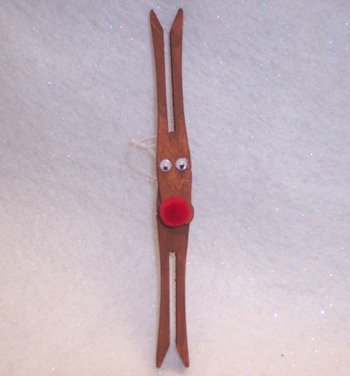
11. How to Make a Clothespin Reindeer
If you want, you can make this craft item look more like a real reindeer by painting it brown. However, that is an optional step. If you are not coloring, the easy project takes only about 10 minutes to complete.
Reindeer Clothespin
12. Reindeer Clothespin Craft Ornament
A tiny white ball for the tail creates a great finishing to the DIY. A red puff ball sits pretty on the face resembling the shiny nose of Rudolph.
Clothespin Reindeer Ornament
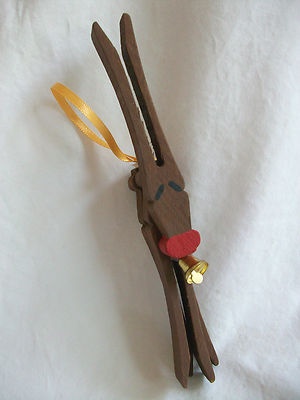
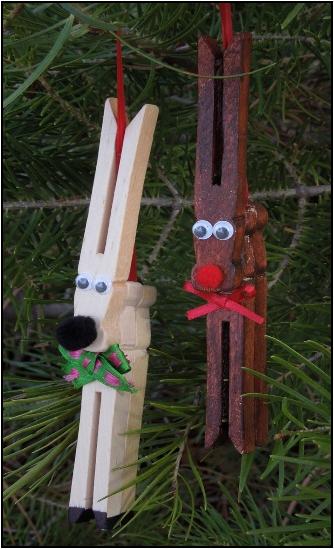
13. Rudolph Clothespin Reindeer
If you don’t like the color of the wood pegs showing, you can color them with acrylic brown paint. If kids are involved, it is best to use the washable varieties.
Clothespin Rudolph Reindeer
14. Large Clothespin Reindeer Step by Step
Here, a string is attached to the paper covered Styrofoam piece for hanging the ornament. Glitters can be added to the nose and antlers for a glitzy appearance.
Large Clothespin Reindeer
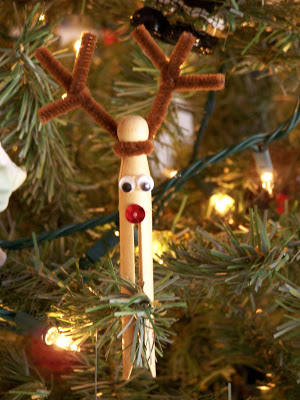
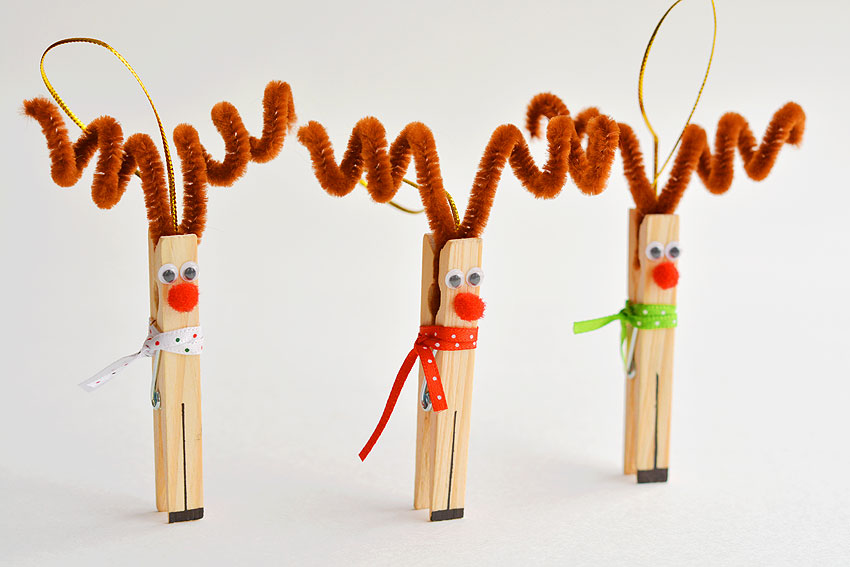
15. Cute Clothespin Reindeer with Pipe Cleaners
These reindeer come with a difference. They use brown chenille piper cleaners bent in a V shape for the ears. You can paint the antlers green if you want to.
Cute Clothespin Reindeer
16. Recycled Clothespin Reindeer Steps
For this reindeer to work as a Christmas ornament, tie the ends of a 6” string in a knot and glue it at the back for hanging.
Recycled Clothespin Reindeer
17. Make Clothespin Reindeer Christmas Ornaments
If you detest the color of the common red ribbon for hanging, you can swap with a green, red and white striped loop for added vibrancy. You may want to remove the metallic clip part of the pegs for ease of decoration.
Christmas Clothespin Reindeer
18. Reindeer Out Of Clothes Pegs
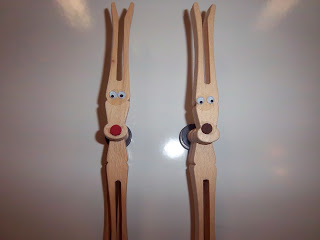
You can hasten up the coloring part by using spray paint. If red pom poms for the nose sound common, try a red gem instead for added shine!
Clothes Peg Reindeer
19. Giant-Sized Clothespin Reindeer
Curling ribbon round the antlers and bell round the neck decks up your clothespin reindeer. You can glue the head part and leave it to dry while going on to finish the back part of the body. This makes the job easier and faster.
Giant Clothespin Reindeer
20. Reindeer Clothespin Magnet Craft
You can make cheery fridge magnets by gluing a small round magnet at the back of the clothespin reindeer.
Clothespin Reindeer Magnets
21. Clothespin Reindeer Necklace Craft
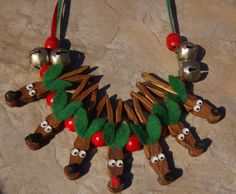
Clothespin Reindeer Necklace
22. Flat Reindeer Made From Clothespin
Flat Clothespin Reindeer
23. Wooden Clothespin Reindeer Craft
Wooden Clothespin Reindeer
24. Wooden Clothespins for Reindeer Ornaments
Scroll down the above-linked post to reach the kid’s corner section where you will find the project.
Wooden Clothespin Reindeer Ornaments
DIY Clothespin Reindeer
26. Homemade Clothespin Reindeer Christmas Ornaments
Clothespin Reindeer Christmas Ornaments
Now that you are at home with the directions, it’s time to get busy with your craft gear. Involving minimal supplies, the project would take around 30 minutes or so. Once you are done, you are ready to sit back and watch with glee the appreciative faces of your guests on Christmas night.
Published on August 12th 2017 by Peyton Derrida